
How to Cut Clean Holes in a Distribution Board Without Damaging It
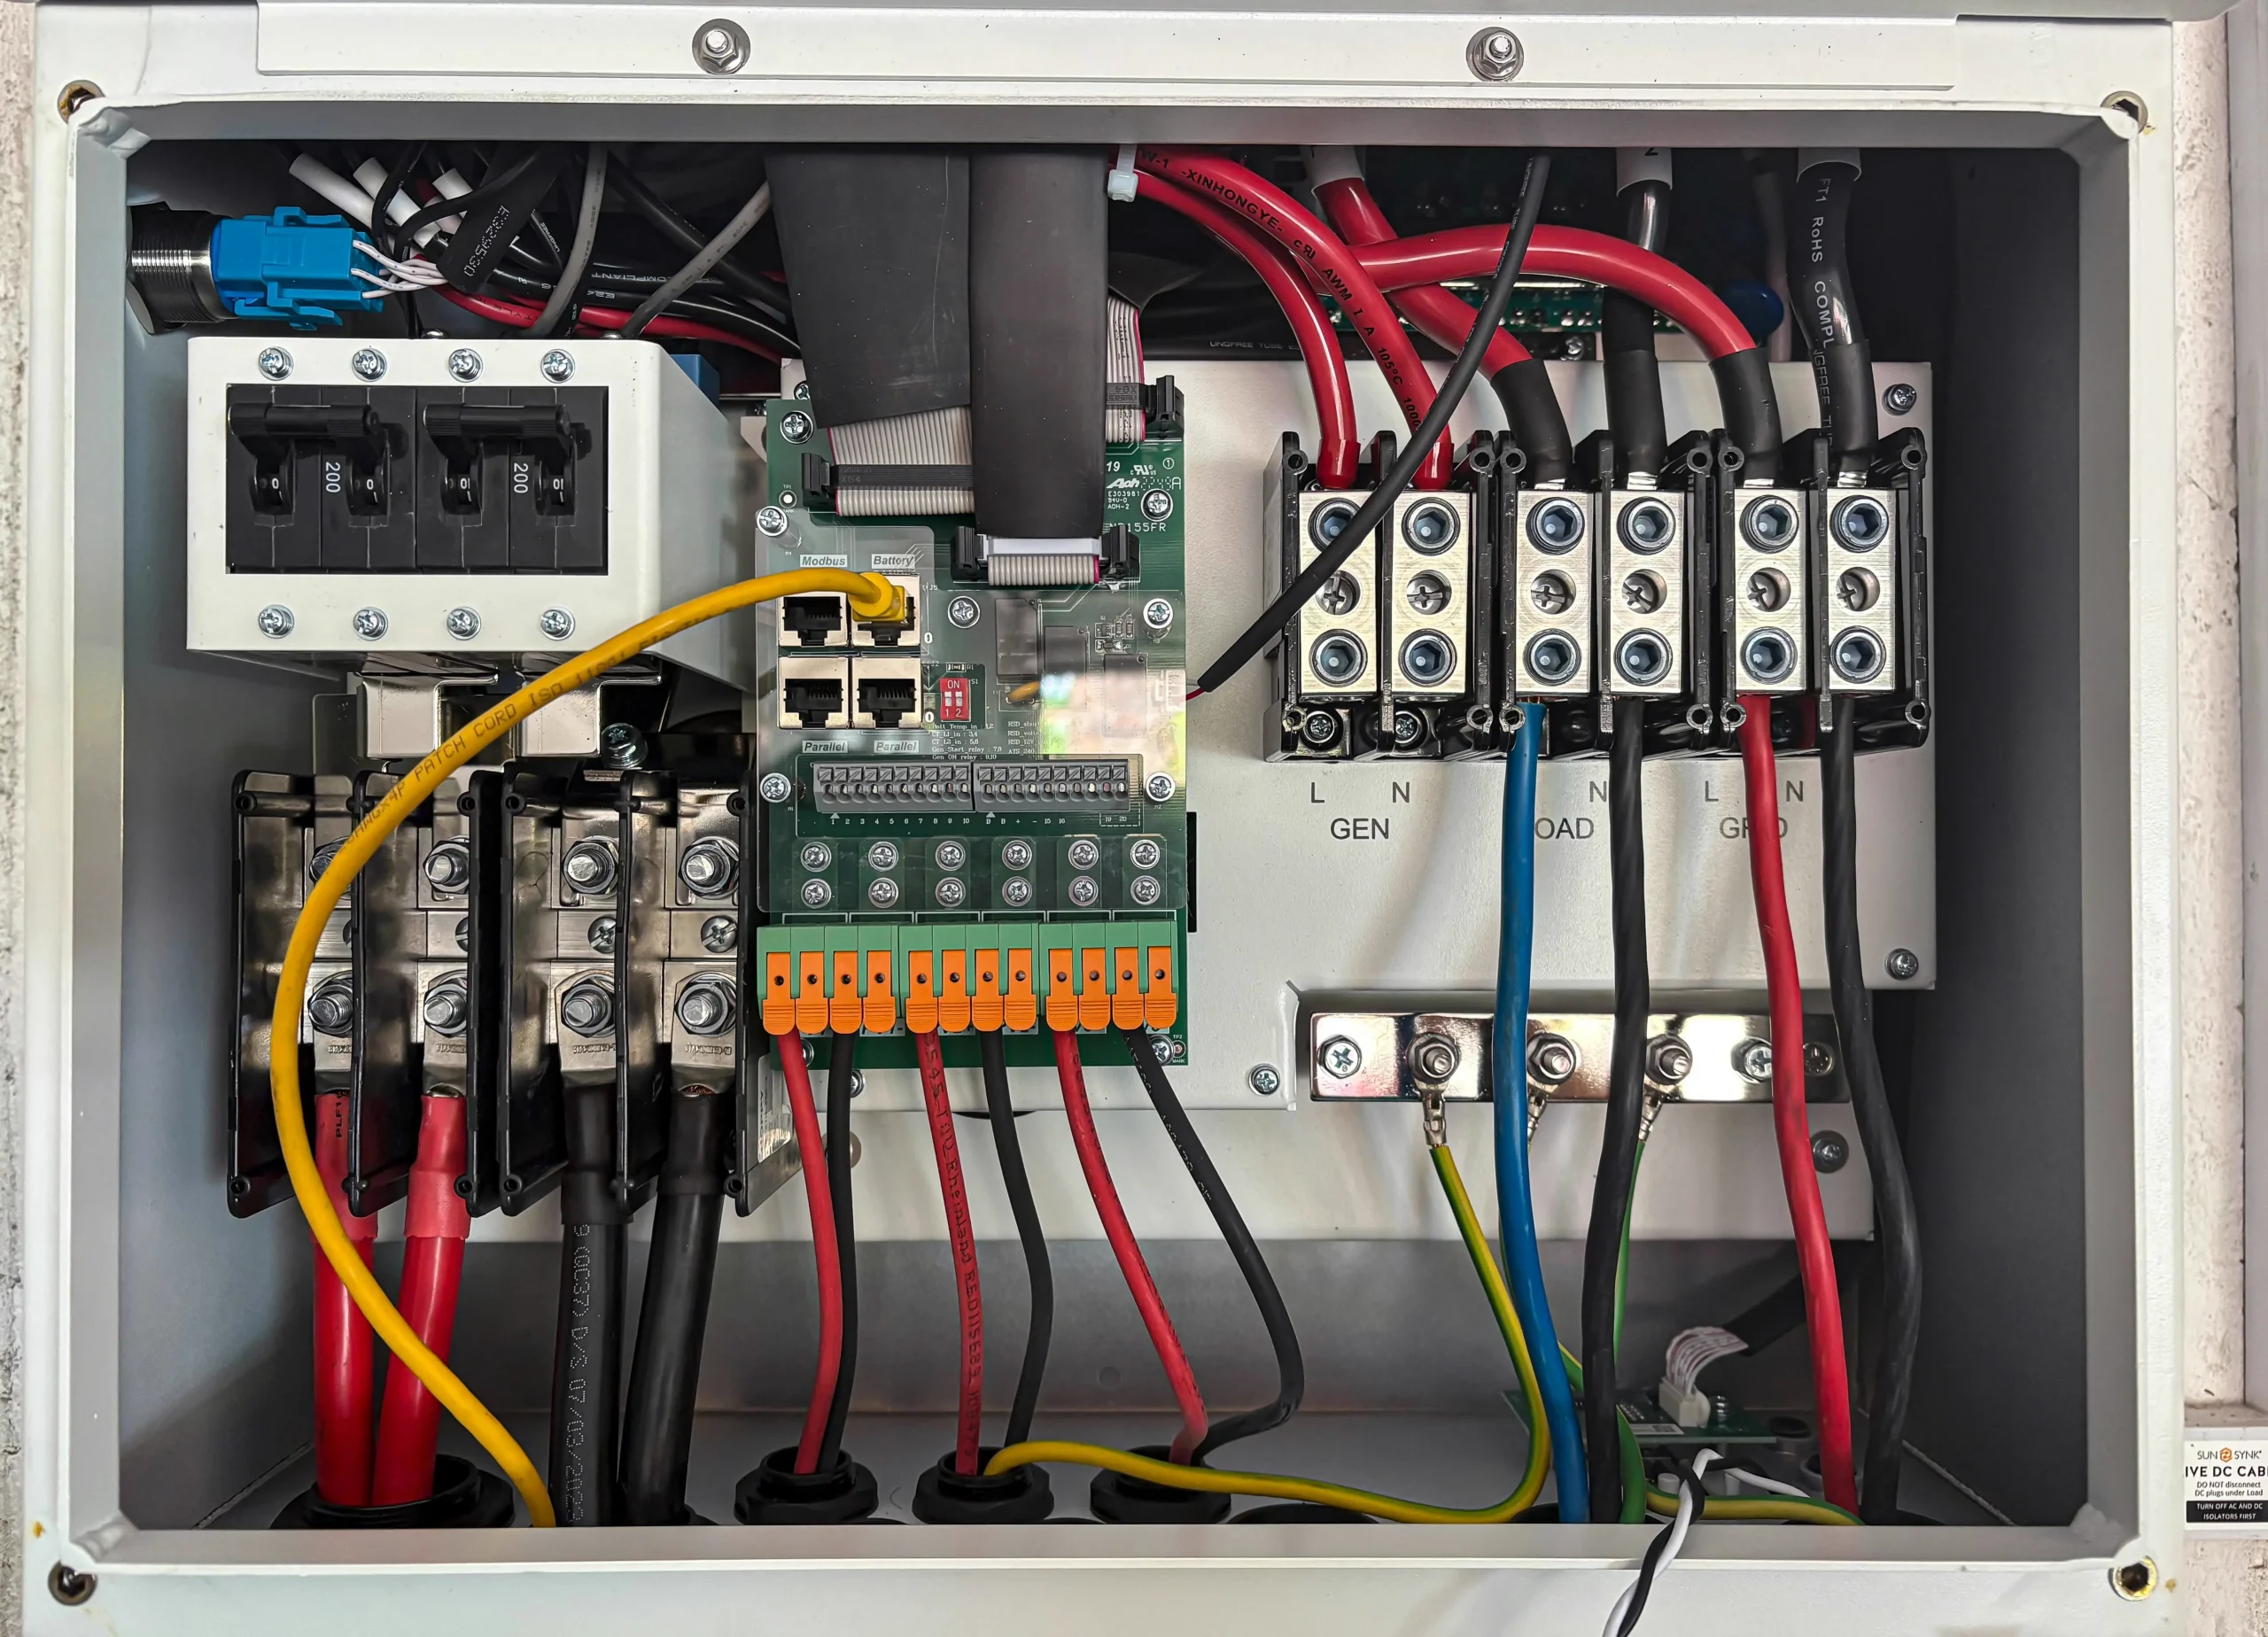
Whether you’re adding a conduit entry, fitting a cable gland, or mounting an industrial socket, cutting a clean hole in a distribution board is one of those tasks that looks simple but can go wrong fast. A ragged edge, a cracked enclosure, or a misaligned hole can compromise the board’s IP rating, create safety hazards, and give the impression of unprofessionalism.
What’s an IP rating?
As defined by the IEC, an ingress protection (IP) rating grades the degree to which an enclosure resists the intrusion of dust or liquids, indicating how well an enclosure will resist access to foreign particles in various environments.
The IEC defines two numerals in the IP (IPxy) rating to provide a quick overview:
- Solid particle protection (first numeral): A rating from 0 (no protection) to 6 (full dust-tight) indicating whether the enclosure resists solid particle ingress. It essentially checks whether any dust or dirt can enter the container over time.
- Liquid ingress protection (second numeral): A rating from 0 (no protection) to 9 (high-pressure hot water at different angles) indicating whether the enclosure resists liquid ingress. It essentially checks whether any high-pressure jetted warm liquids enter the internals of the container.
IP rating example
Commonly, IP ratings are found on manufactured phone specifications to grade how well the case would resist water or dust entering the mobile device. A good example would be the latest iPhone 17 Pro. The phone has an IP rating of IP68.
The IP rating of IP68, according to the IEC’s definition of ingress protection (IP), classifies the iPhone 17’s container as stopping any solid particles and being able to be submerged for an extended period of time.
Similarly, when cutting through your enclosures, you’d want to keep the enclosure’s IP rating intact. This ensures minimal ingress of dust or liquids that could damage electronics and cause electrical shorts.
Risks from Poor Cuts
A distribution board is designed and manufactured to protect electrical components from dust, moisture, and general impact. Incorrectly cutting into the distribution board could risk:
- Cracking plastic enclosures: This makes the enclosure structurally weaker and more resistant to impacts.
- Deforming metal panels: This makes it difficult to evenly fit fittings and other glands.
- Compromising the IP rating: An oversized or rough hole allows moisture and dust into the panel, increasing the risks of fires.
- Cutting cables: Roughly cut holes leave behind sharp burrs; friction over time could cause the cables to snag and damage them.
- Voiding Certification: Distribution boards have to be inspected by relevant construction and electrical laws; the modified enclosure may not pass inspection.
Avoiding these risks is paramount for safe, certified installations. Reducing the overall time and money spent on re-evaluating the installation, cut once, and move on.
Step 1: Identify the Board Material
Distribution Boards can be manufactured to have different materials, ranging from steel to plastic. Different tools are needed for cutting into these materials.
Plastic: Step Drill Bit
Plastic distribution boards are common in residential and light commercial installations. Plastic, generally, is far easier to work with, although it is prone to cracking under too much force or drilling/cutting with the wrong bits.
Step drills remain the best option for cutting through these plastic enclosures, self-starting without a pilot hole and gradually applying cutting pressure. This leads to a clean round hole with minimal cracking or plastic distortion.
It’s advisable to start off slow and allow the bit to do its work; applying too much pressure typically results in greater heat, which melts and distorts the plastic.
Steel and Metal: Knockout Punch
For steel panels and metal distribution boards, a knockout punch is the professional’s choice. It shears cleanly through the metal in a single controlled action, leaving a smooth burr-free edge that seats fittings perfectly. Unlike drilling, it produces no sparks, no heat distortion, and no rough edges that could damage cables.
For smaller holes in thinner steel, a step drill bit or hole saw can also work well, but for anything above 20mm in a steel enclosure, a knockout punch will give you a far cleaner result.
When to Use a Hole Saw
Hole saws are useful when you need larger diameter holes. For example, fitting a large cable gland or a CEE industrial socket. They work on both plastic and metal, but require more care to keep the cut straight and clean. Always use the correct blade type for your material: bi-metal for steel, carbon, or HSS for plastic.
Step 2: Mark and Measure Carefully
Measure twice, cut once. Measuring and carefully cutting avoids expensive mistakes and allows you to plan how to effectively cut in limited, cramped spaces.
- Use a center punch to mark your drill point, reducing the chances of wandering from your target.
- For plastic enclosures, simply use a pencil or marker. Using a center punch on plastic can crack the surface; avoid it.
- Use a hole template or fitting to trace the exact diameter needed.
- Double check, make sure your hole won’t interfere with internal bushbars, terminals, or DIN rails.
Step 3: Secure the Enclosure
Never try to cut holes into distribution boards that can be moved with live components inside.
Always:
- Work on uninstalled enclosures.
- Secure it to a workbench so it doesn’t move during the cutting process.
- Remove all the internal components that could potentially be damaged by swarf or plastic debris.
- If cutting into a fixed or installed board, switch off and isolate the supply first.
Step 4: Cut the Hole
For Plastic with a Step Drill Bit:
- Start at low speed and let the tip find its position.
- Increase speed gradually once cutting has started.
- Stop at the correct step diameter.
- Clear debris regularly to prevent heat buildup.
For Metal with a Knockout Punch:
- Drill a small pilot hole at your marked centre point.
- Insert the draw stud through the pilot hole.
- Thread the punch on one side and the die on the other.
- Tighten the draw stud with a wrench until the punch shears cleanly through the metal.
- Remove the slug
For Larger Holes with a Hole Saw:
- Use a centre punch on metal to start the pilot drill.
- Run at moderate speed with steady, even pressure.
- Use cutting lubricant on metal to reduce heat and extend blade life.
- Back out regularly to clear swarf and cool the blade.
Step 5: Clean Up the Edge
Even the cleanest cut benefits from a quick finish:
- Deburr metal edges with a deburring tool or fine file. Sharp edges will cut through cable insulation over time, deburr them.
- Smooth plastic edges lightly with fine sandpaper if needed.
- Check the fit of your fitting, gland, or socket before final installation. The fitting should seat flush with no rocking.
Step 6: Maintain the IP Rating
This is where many installers fall short. Cutting the hole is only half the job — sealing it correctly is what maintains the enclosure’s protection rating.
- Always use a cable gland rated to the same or higher IP level as the enclosure.
- Ensure glands are tightened correctly.
- For unused holes, fit blanking plugs. An open hole immediately drops your IP rating to zero.
- Check the gland manufacturer’s recommended hole size.
Summary
Cutting a clean hole in a distribution board comes down to three things:
- The right tool for the material
- Careful marking
- A proper finish
Rushing any of these steps risks damaging an expensive enclosure or creating a safety issue down the line.
Whether you’re reaching for a step drill, a knockout punch, or a hole saw, the goal is always the same: a clean, correctly sized hole that seats your fitting perfectly and keeps your IP rating intact.
Looking for the right tools for your next panel installation?
Browse our range of step drill bits, knockout punches, hole saws, cable glands, and blanking plugs.