
The Real Reason Electrical Connections Fail
When an electrical system fails, the instinct is to look at components, the drive, the relay, the sensor. Components are tangible, testable, replaceable. But the data tells a different story. In the majority of electrical failures, the component itself is intact. What failed was the connection between components. The point where two things meet turned out to be the weakest point in the system.
The Connection Is the System
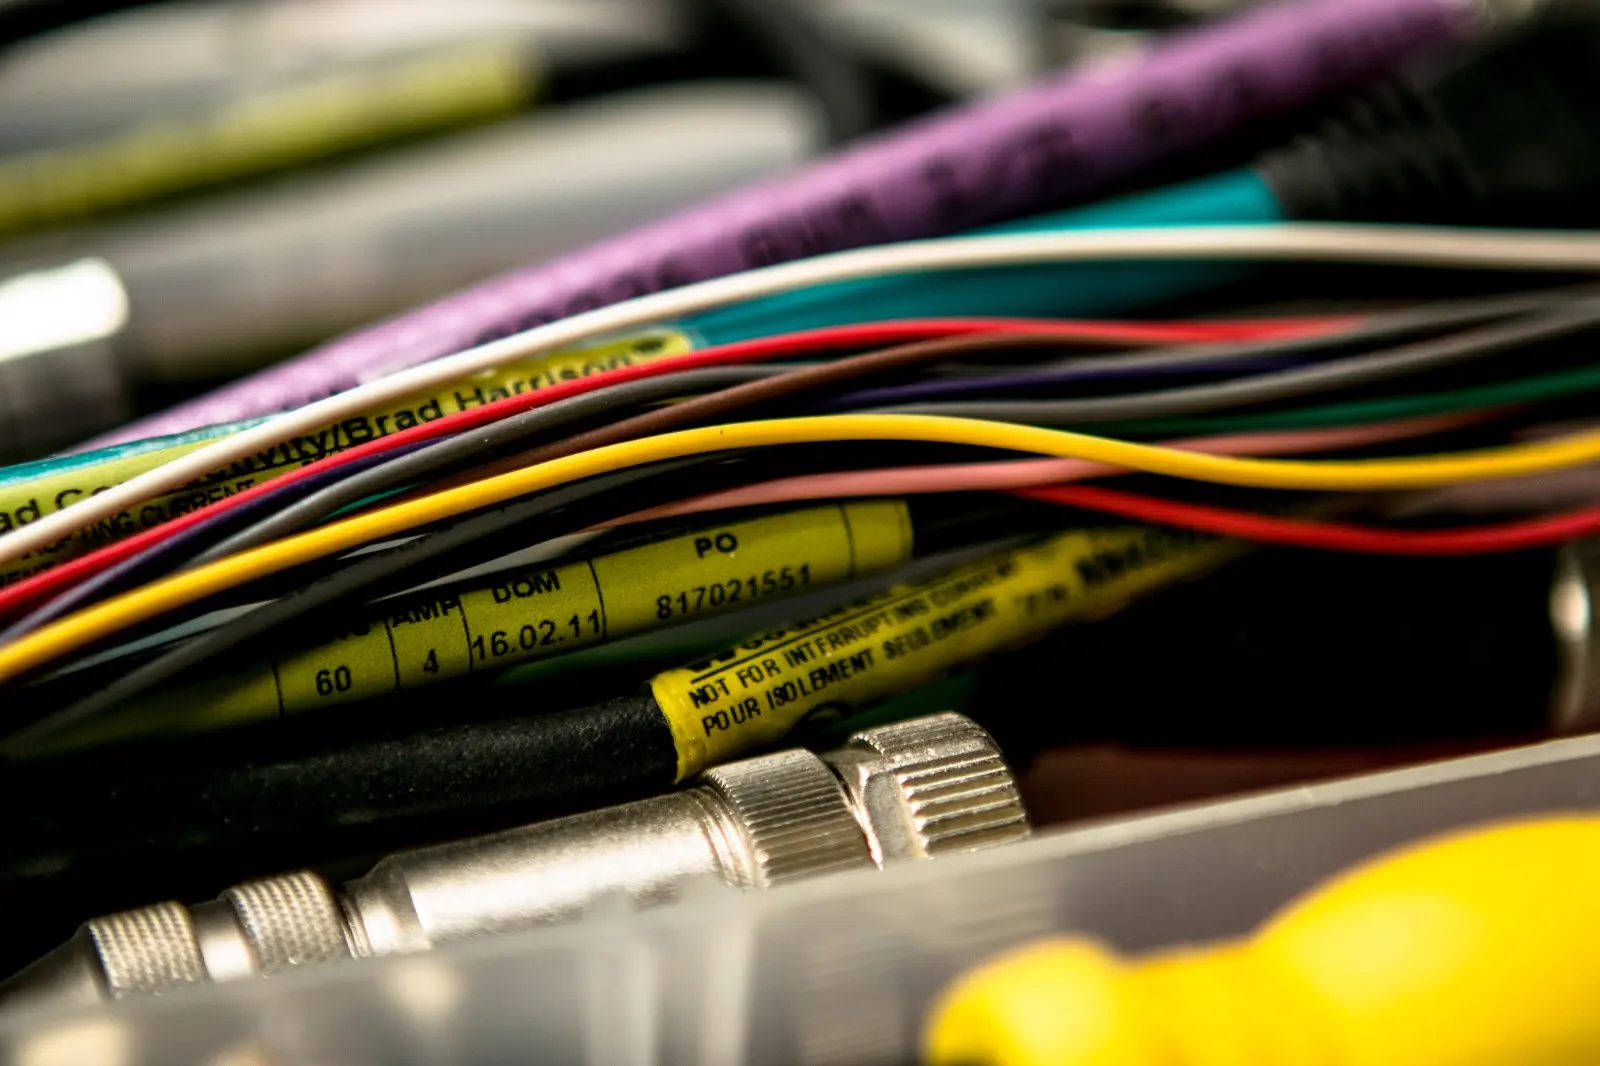
Every circuit is only as reliable as its least reliable junction. A cable rated for 600V and 30 years of service delivers exactly that, right up to the terminal block where it was under-torqued during installation. A sensor rated to IP67 fails because the connector it plugs into was never rated for the environment it operates in.
Connections are, by nature, transition points. They’re where different materials meet, where mechanical forces concentrate, where environmental exposure is highest, and where installation quality has the most direct impact on long-term performance. This is why connection failures account for a disproportionate share of electrical faults, not because they’re poorly designed, but because they’re uniquely vulnerable to everything that happens after design.
A system is only as strong as its weakest point, and that point is almost always where two things meet.
Four Causes That Appear in Almost Every Failure Analysis
1. Loose Terminations
Vibration is the silent untightener. A correctly torqued terminal that starts at specification can work loose over months of mechanical vibration from adjacent machinery, thermal cycling, or cable movement. As the clamping force reduces, contact resistance increases, and with it, heat. Heat accelerates oxidation of contact surfaces, which increases resistance further. This self-reinforcing cycle is why loose connections rarely stay at “minor issue”, they progress.
2. Incorrect Crimping
A crimp is a cold weld between conductor and terminal. Done correctly with the right tool and die, it creates a gas-tight, mechanically sound joint that will outlast the cable. Done incorrectly, wrong tool, wrong die, misaligned conductor, under or over-crimped , and the joint has voids that trap moisture, microscopic gaps that oxidise, and reduced mechanical strength that fails under load or vibration. The external appearance of a bad crimp is often indistinguishable from a good one.
3. Poor-Quality Connectors
Not all connectors are equal, and the difference is rarely visible at purchase. Low-quality connectors use thinner plating that wears through faster, base materials that corrode more readily, and contact geometries that deliver lower normal force, meaning less reliable electrical contact under load. Under the same operating conditions, a budget connector can fail in months where a properly specified industrial connector would have run for years.
4. Environmental Exposure
Moisture, dust, vibration, and chemical exposure all attack connections from the outside. Moisture bridges contacts and accelerates galvanic corrosion, particularly at dissimilar metal junctions. Conductive dust builds resistive films across open contacts. Chemical exposure, oils, cleaning agents, process gases, degrades both the contact surfaces and the polymer housings that hold them in alignment. An unprotected connector in a washdown or chemical-adjacent environment is not a long-term solution, regardless of initial quality.
The Failure Progression
How a Small Issue Becomes a Shutdown
Connection failures rarely announce themselves. They develop gradually through a predictable chain, one that’s entirely preventable if caught early, and increasingly expensive the further along the chain it runs.
Failure Progression Chain
- 1. Poor contact: Loose terminal, bad crimp, or oxidised surface creates a resistive junction
- 2. Heat Builds: Resistance generates localised heat, accelerating oxidation and material degradation.
- 3. Failure: Open circuit, arc fault, or downstream component damage, often with no warnin
The insidious part of this progression is its invisibility. Increased resistance at a terminal doesn’t trigger an alarm. The heat it generates may not be enough to trip a thermal sensor. The system continues operating, degraded, but apparently functional, until the failure threshold is crossed. At that point the fault presents as a sudden, unexplained failure rather than the gradual deterioration it actually was.
What Good Connection Practice Actually Looks Like
The fundamentals are well established. The gap between knowing them and consistently applying them across an entire installation is where failures are born.
Good Connection Practices:
- Specify connectors for the environment: IP rating, temperature range, chemical compatibility, and vibration resistance should all be matched to actual operating conditions, not selected from the lowest-cost catalogue option that meets the nominal voltage and current spec.
- Use calibrated crimp tooling: The correct die for the terminal and conductor cross-section is non-negotiable. Ratchet-style crimp tools that cannot be released before the cycle completes are the minimum standard for production environments.
- Apply and verify torque values: Terminal manufacturer torque specifications exist for a reason. Torque-controlled drivers and documented torque checks at commissioning are the only reliable way to know terminals are correctly clamped.
- Include connections in your inspection regime: Thermal imaging of electrical panels during operation is one of the most cost-effective predictive maintenance tools available. Hotspots at terminals and connectors are detectable well before failure , often months in advance.
- Retorque after the first thermal cycle: Many terminal manufacturers recommend a re-torque check after initial load cycles. Thermal expansion and settling can reduce clamp force in the first weeks of operation, catching this early prevents the progressive loosening cycle entirely.
Good Connections Are Not
Just About Installation.
They’re about every decision made before, during, and after, the specification, the tooling, the torque, and the inspection that catches the problem before it becomes a failure.